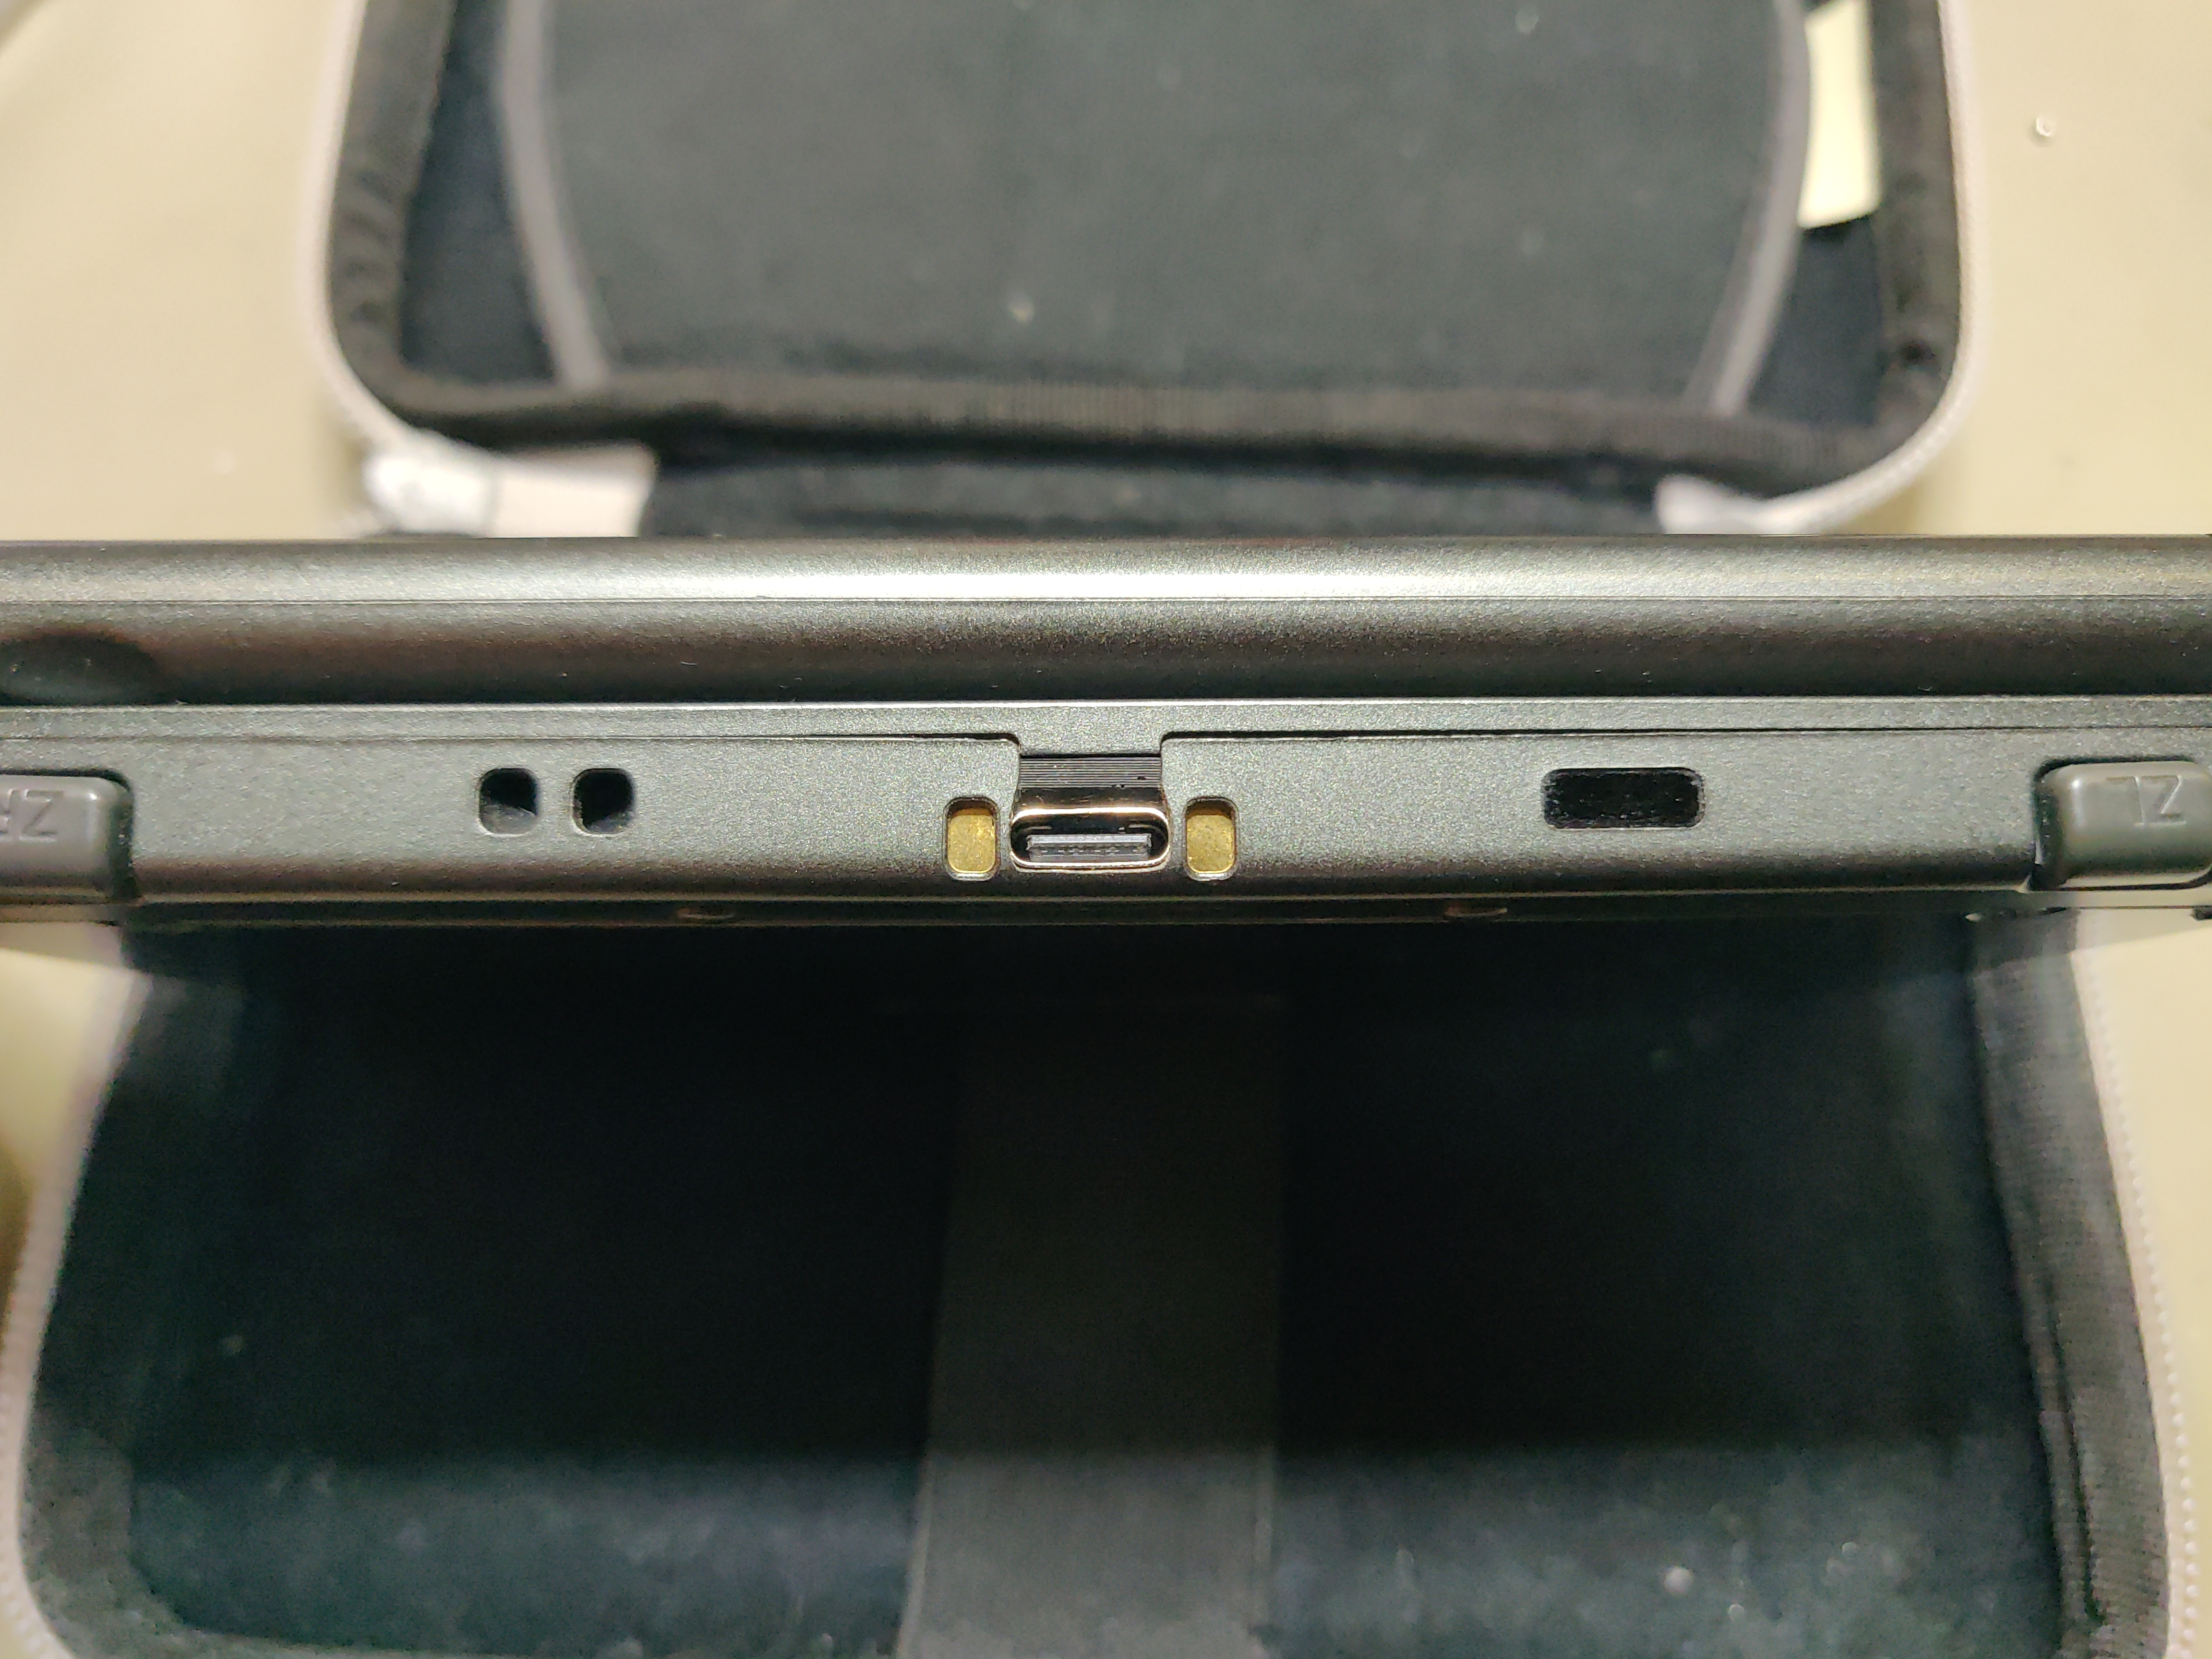
The USB-C mod for the 3DS is great. It means you don't have to carry an extra cable or adapter just for the console. The kit I got was excellent. The USB-C board was well designed and the instructions very good. Do note this kit replaces the original charging port. There are other mods which instead add an additional charging port, which requires making a new opening in the case. A charging fuse blew as I was changing the charging port. However, replacement parts were easy to get, information on changing the fuse is available online, and soldering the new fuse was a little challenging, but doable.
The 3DS is a really nice little console. I'm generally quite strict about only having devices running free software, but this little piece of kit has quite a few things going for it.
I personally like the hardware itself. It's compact and works well for use on the couch or on the go. It's got a removeable battery and micro SD card, two strong points for longevity. It's also a bit unusual as far as electronic consumer devices go today. The clamshell design, the dual screens, and a 3D screen make it a little kooky and cute. To round it off, it's the last purely handheld console from Nintendo.
The most interesting aspect of the console is its hackability and the big homebrew community around it. If you can't run a free operating system on it, at least you can extensively modify and tinker with it.
And there are so many more great hacks and homebrew. I came across wiki.hacks.guide while writing this. It seems a like a nice curated list of hacks, with some explanation and instructions for each one.
Disassembly and reassembly went well, although it was a little bit more tricky than I anticipated. In hindsight I should have slowed down and not rushed things so much.
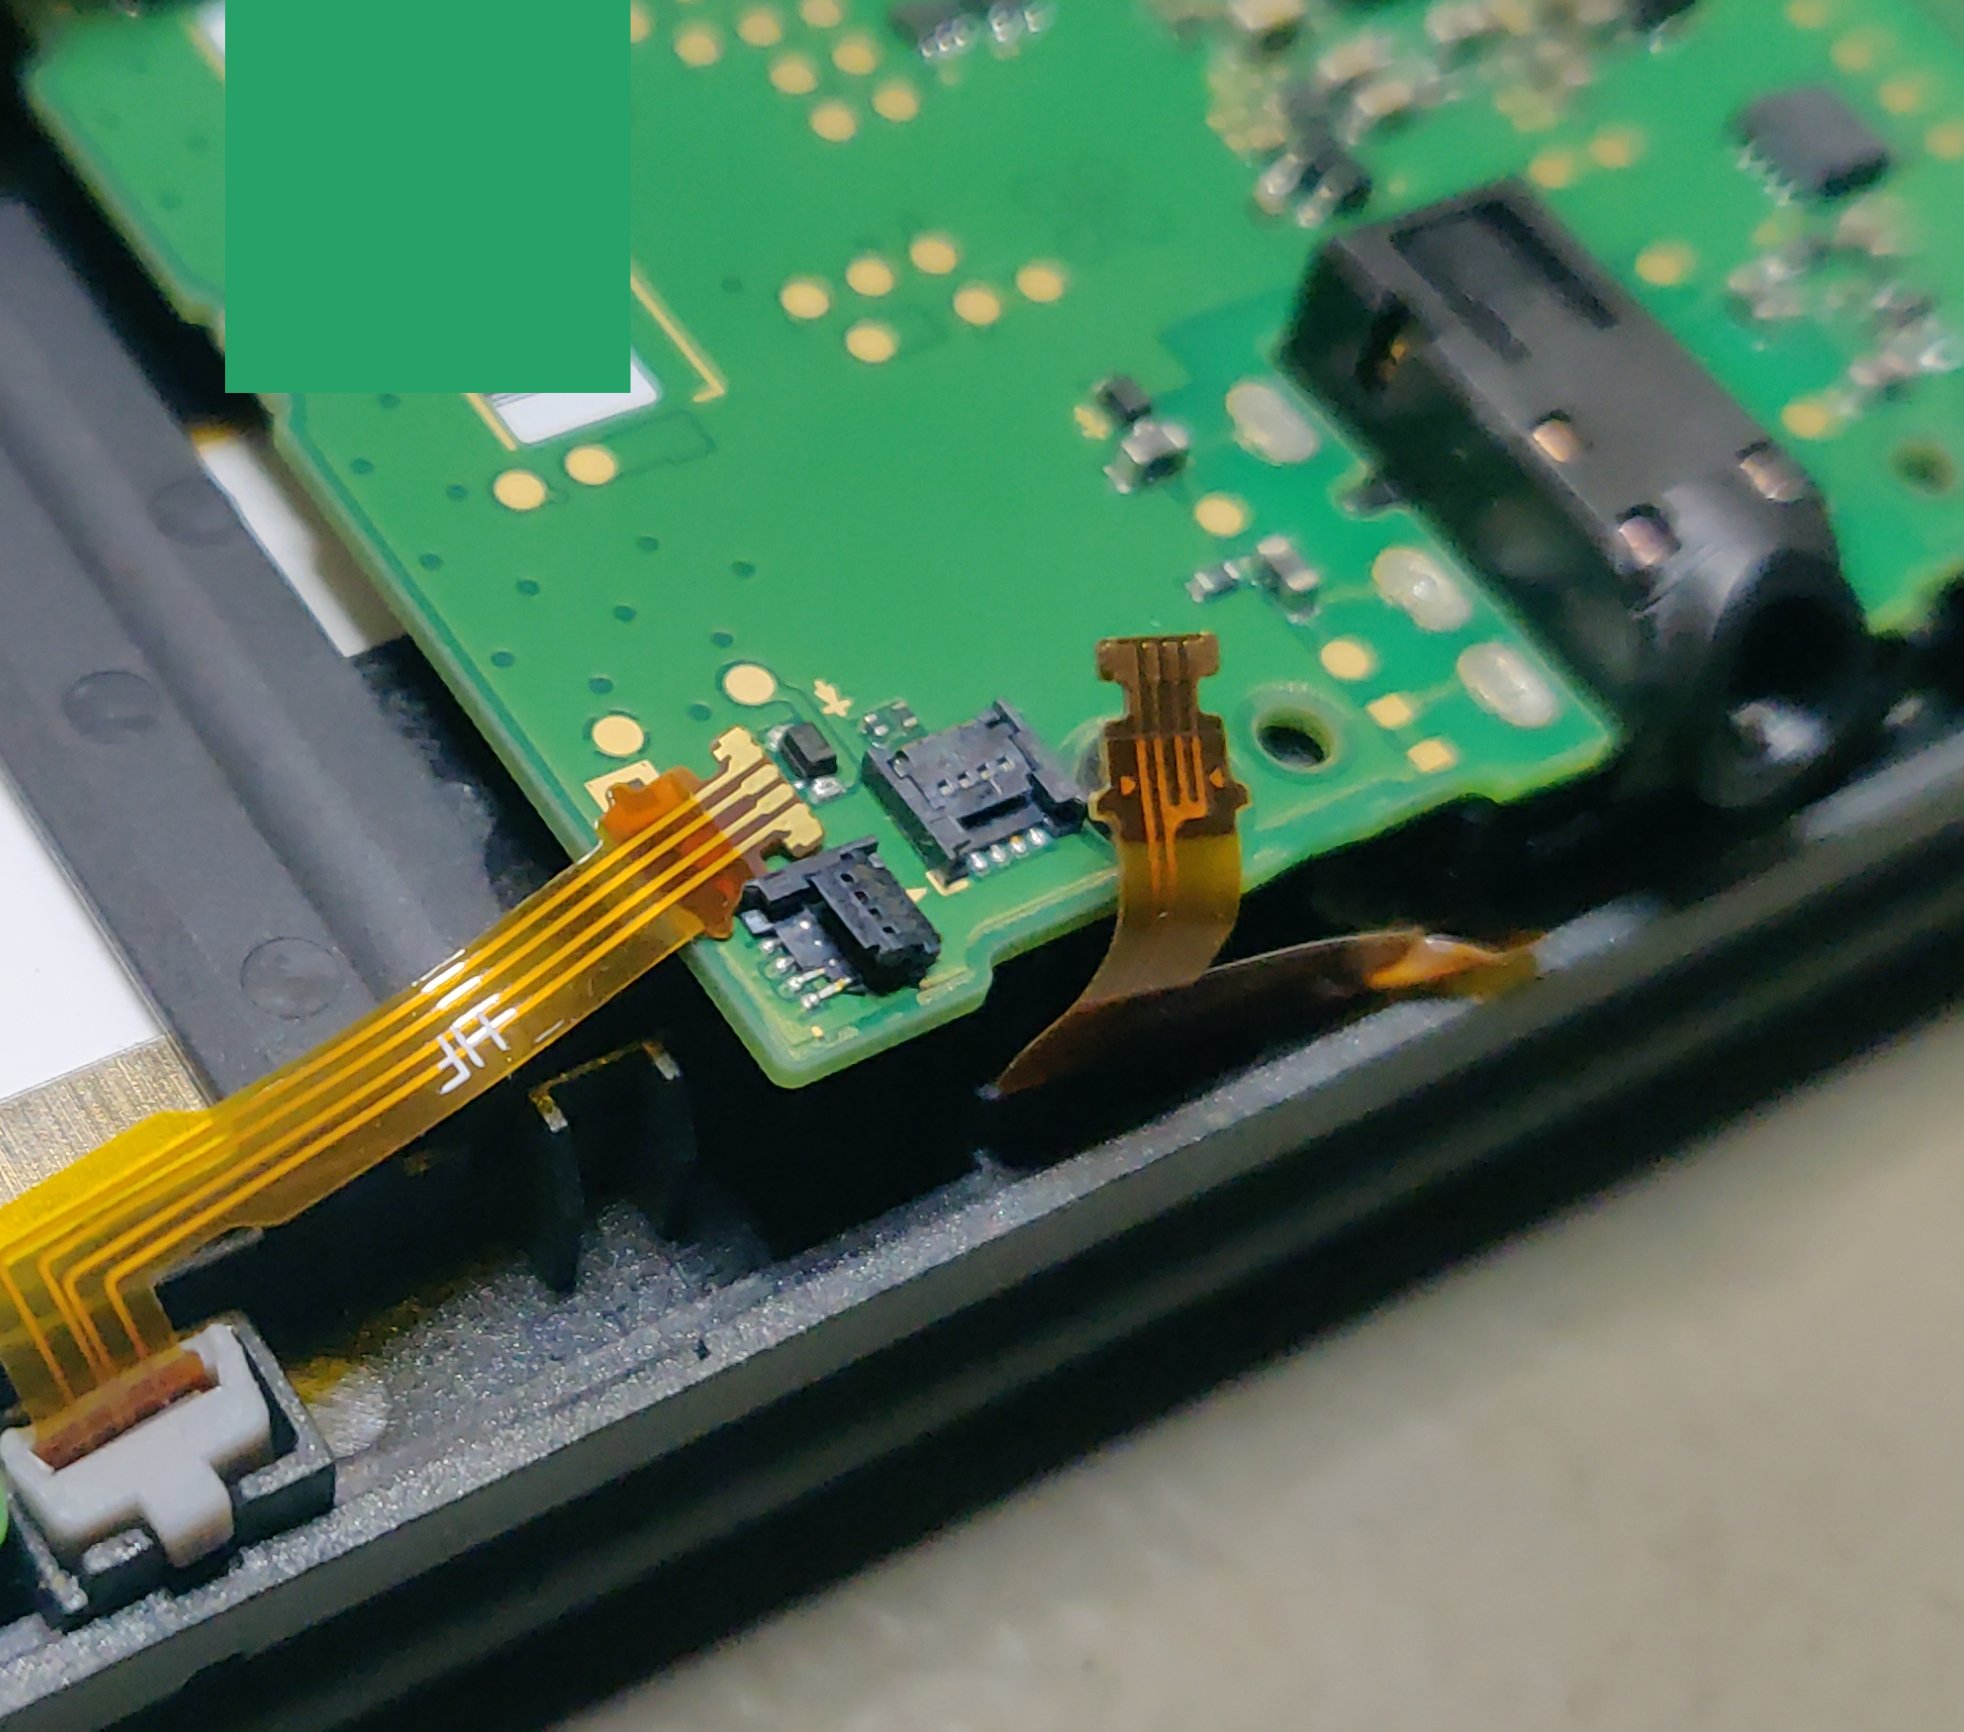
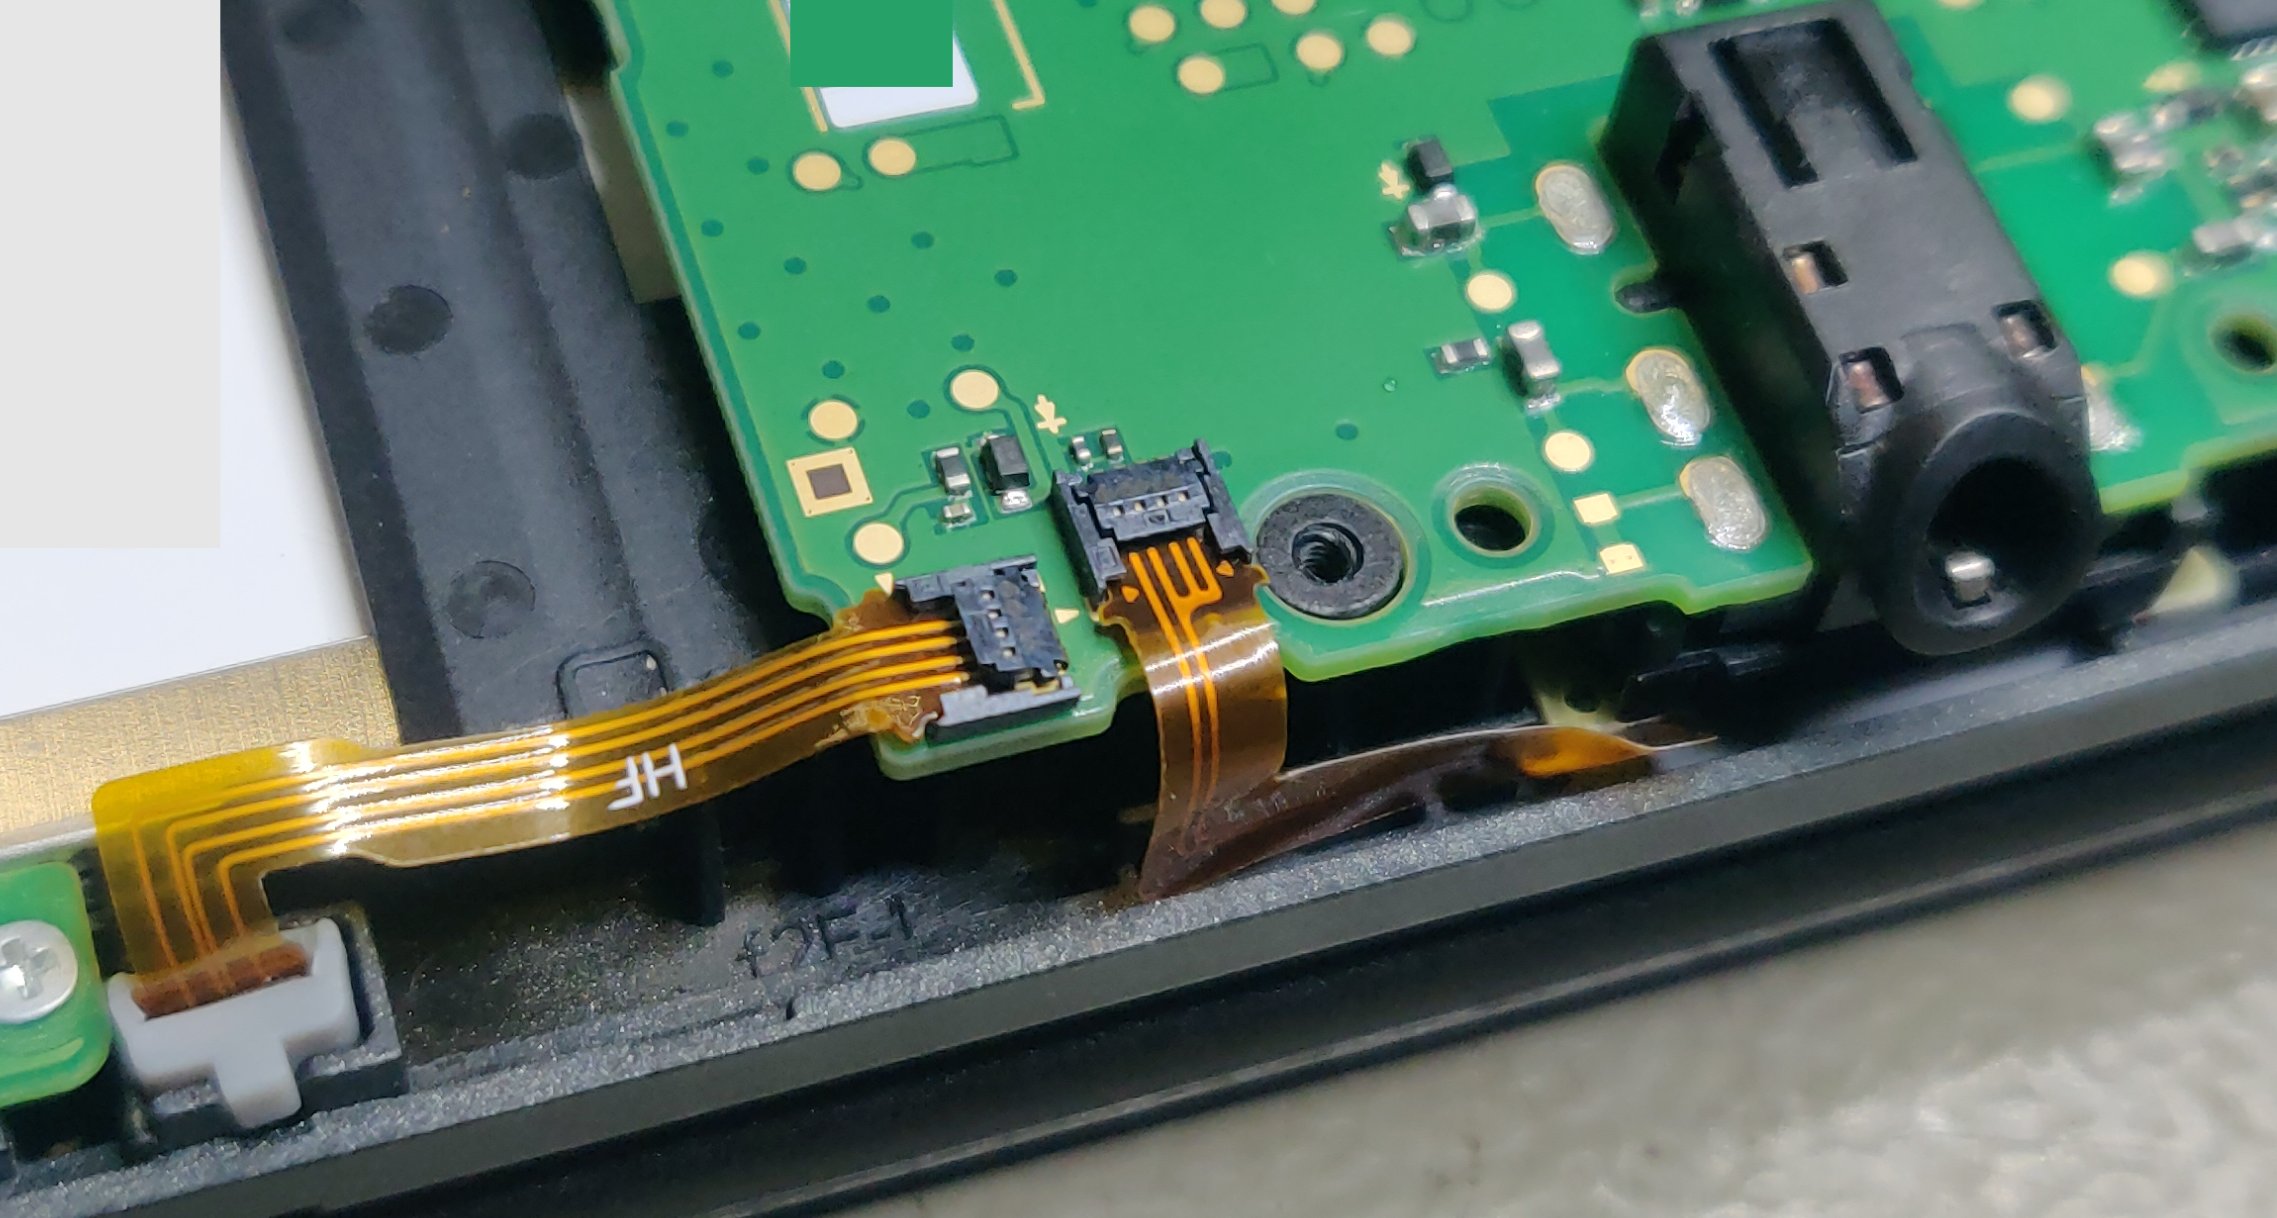
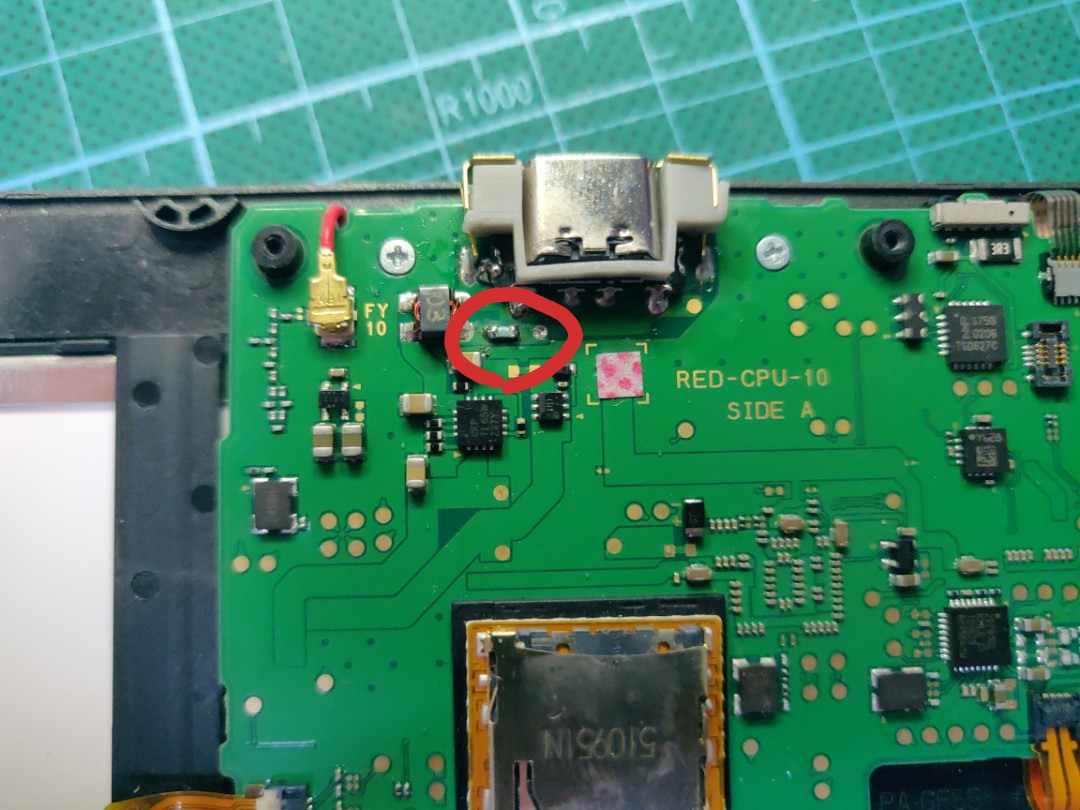
First minor setback was with the connector type used for the microphone. I hadn't come across this connector type before and thought you had to lift the connector on the board before pulling the cable out. Fun fact, that is not at all how you do it. You just need to pull firmly on the cable, rubber tweezers work well for that. You can see two of these connectors in the picture below. The left one got damaged as I mistakenly tried to pull it up.
The damage wasn't too bad, and I managed to find the small plastic piece which had been snapped off. I placed it roughly where it was supposed to be and taped it up. No idea if this worked though, as I've never used the microphone on the console. I can't think of any games which use it either. So luckily not a big issue in any case.
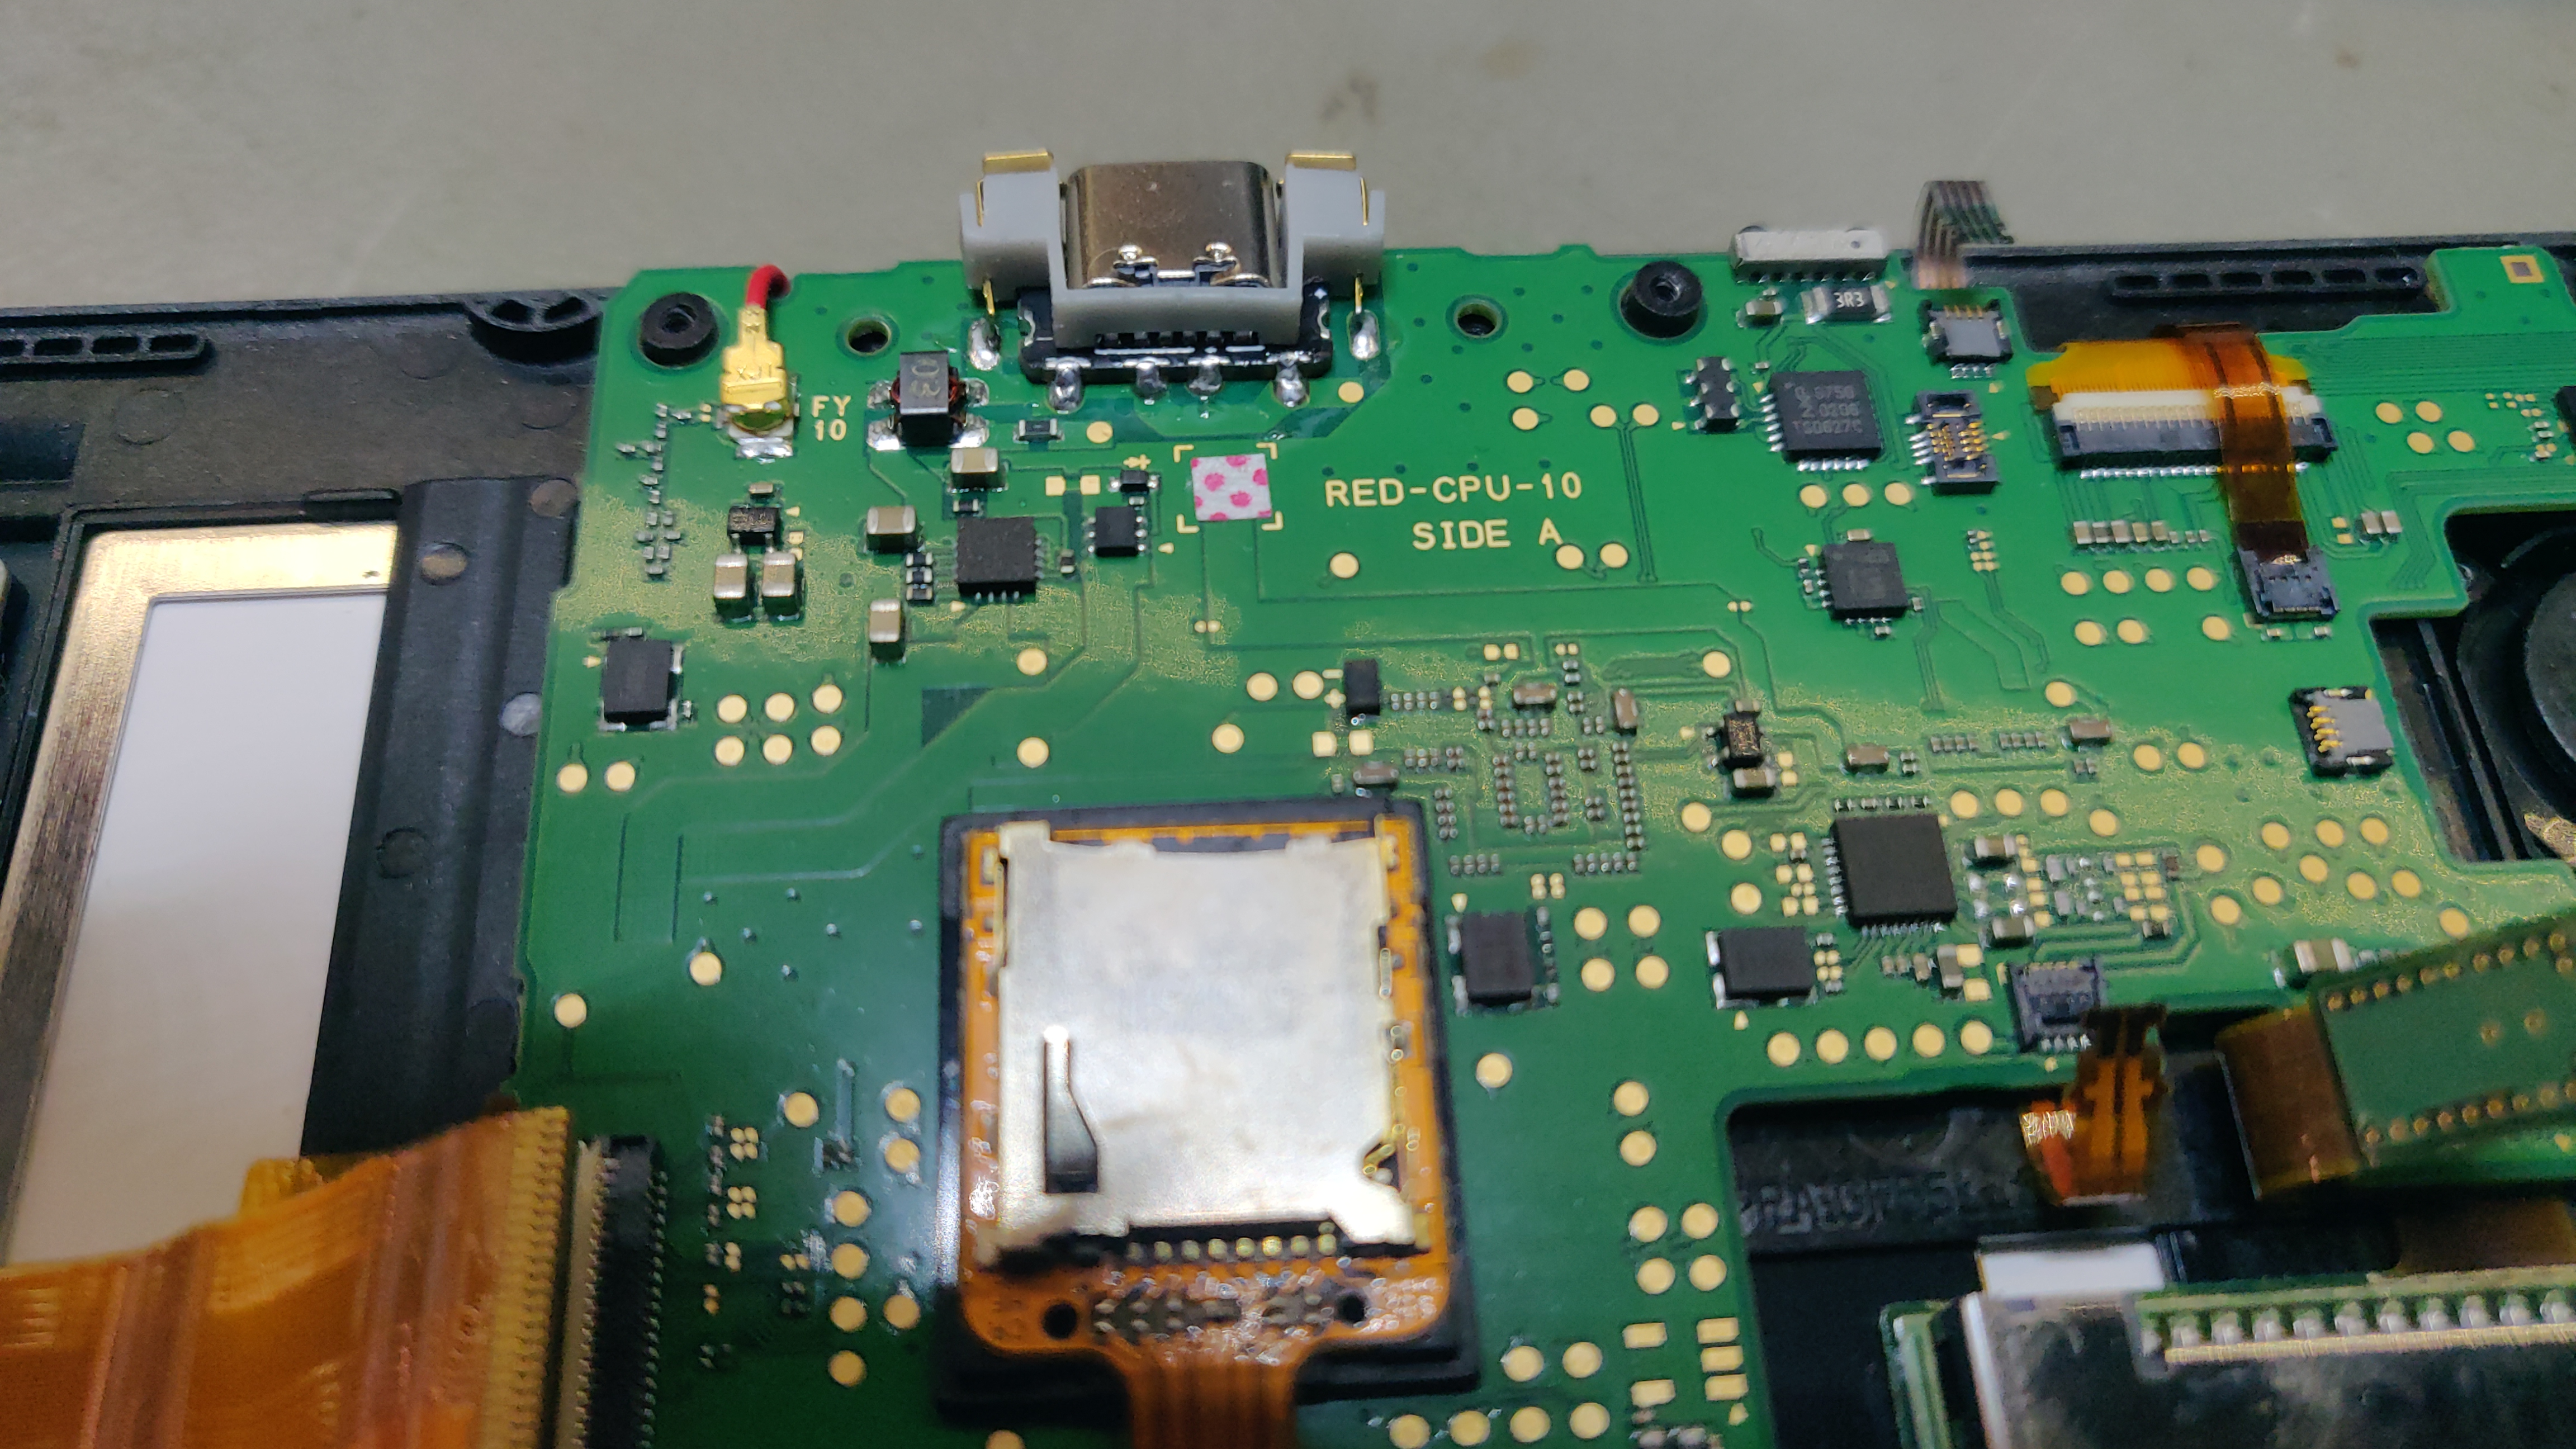
The actual desoldering of the old charge port and soldering of the new one went extremely smooth. The provided instructions were clear and helpful. I was surprised this part turned out so easy actually. Happy surprises. Look at this beautiful soldering ! :
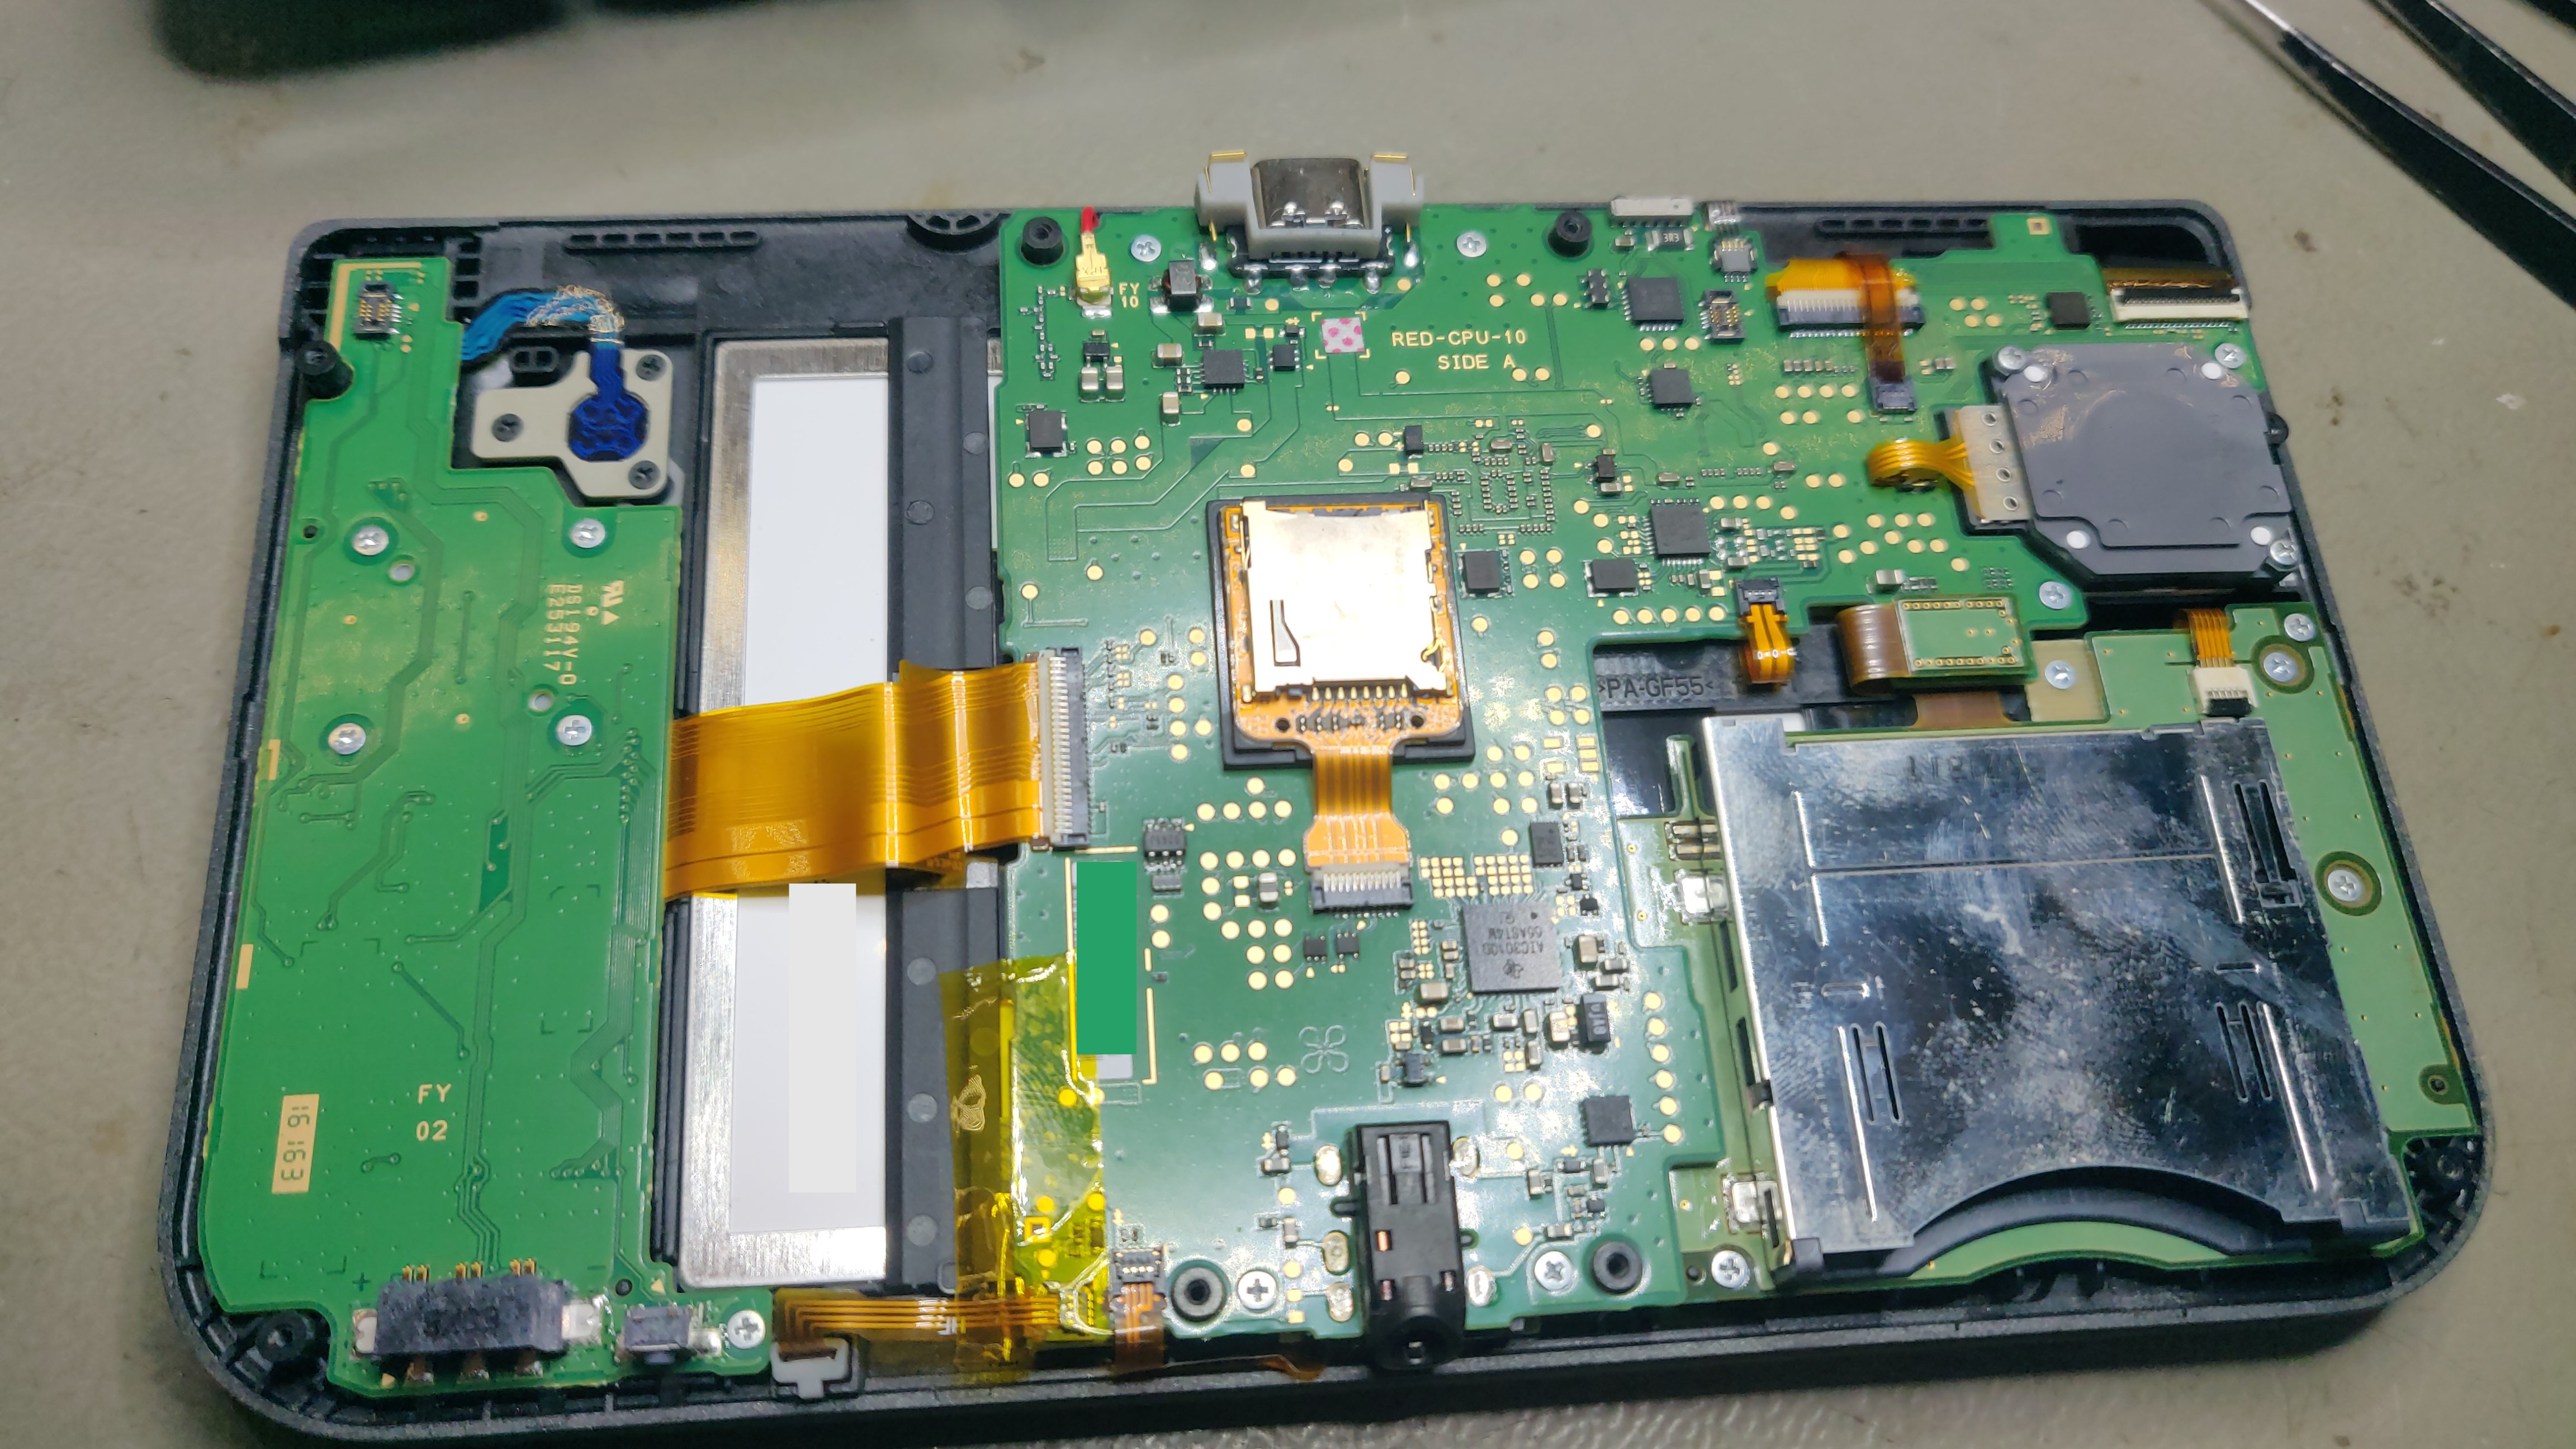
Second tricky part was getting the top screen ribbon cables properly connected on re-assembly. You can't see from these pictures, but on the underside of the top right part of the board are three ribbon cables. Two of them are on top of each other, and they all have minimal slack. Making it a bit of delicate operation. After the first reassembly, the console wouldn't turn on. The blue LED would come on for a few seconds, there would be a pop sound from the speakers and it would turn off again. I found out that this was due to the display ribbon cables not being properly connected. Someone did a very useful video which helped with the reassembly. After a second try everything worked as it should.
Although the console turned on and worked as normal, it wouldn't charge. No LED light came on, and there was no voltage at the battery terminals either. The troubleshooting guide I had come across earlier mentioned blown fuses. And with the help of a multimeter it confirmed there was no continuity across the fuse. I'm still puzzled how the fuse blew on disassembly, but it sure wasn't working.
Ordering a new fuse was cheap, but required some patience. I just searched for n3ds fuse basically. I think it's either a 1A or a 1.5A fuse, but the vendor didn't explicitly say. Probably to be able to sell a fuse for 2$ instead of 2 cents. Since the fuse is surface mounted, the soldering here was a bit more tricky. I found another great video of someone doing a pretty good job of it. Removing the old fuse was fine. Although soldering the new fuse properly took several tries. What I found worked was to first put a blob of solder on one contact, then push one terminal of the fuse into the molten solder, let it cool, and finally heat the second pad and add some solder. Nothing like a bit of patience.
Successful mod completed ! It was honestly trickier than I thought it would be, and not at the steps I expected. Particularly the reassembly of the display ribbon cables. Still a good result, and I got to practice some surface mount soldering. The 3DS is now even more portable, as it doesn't need it's own special cable.